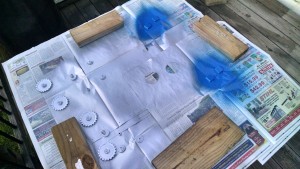
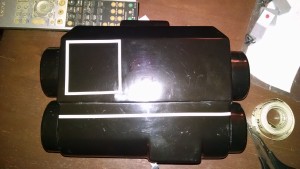
Previously, we discussed the basics of trimming the armor kit. This time, we are getting into more of the fun stuff. Now I’m beginning to assemble pieces and it’s actually starting to take shape.
I have to admit that my anxiety around this build has been pretty high. I think it’s two-fold. First, I gave myself such a short time frame to get this kit to be wearable. Second, I haven’t been able to locate as much in the way of tutorials as I have for previous projects so I’ve been having to figure a lot of it out on my own. This isn’t a very hard build, but it’s been stressing me way out and I am constantly in fear of screwing it up. While a few pieces have not turned out exactly the way I wanted them to be, there isn’t anything that is beyond fixing.
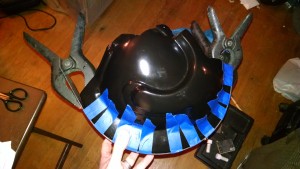
After cutting the pieces to the correct sizing, you have to sand the edges smooth. Most of your time working on armor is either spent sanding or waiting for glue or paint to dry. Measure, compare to your reference, measure again, cut, sand, sand, sand, sand, sand, sand and sand some more. Then you get to line up the pieces and glue them. You will need to clamp the pieces while the glue cures. Depending on the piece, you may need to get creative with how you clamp it by using magnets or even tape in addition to the regular clamps.
For glues, I like to use E6000 on most pieces. It’s an industrial strength adhesive, but when it dries it has a little bit of a rubbery flex to it which can be very helpful in certain areas. Unfortunately, it also takes approximately 24 hours to cure, which means once you get glue on your pieces you have to let them sit for at least a day. That is one thing that can slow down the process. Some people swear by CA glue (think really hard-core superglue) or using epoxies. I tried CA glue when I first got my original Stormtrooper kit, but I didn’t like it and I ended up redoing almost everything I had glued. Epoxies are great for some parts, but I don’t like that most of them make a permanent bond. E6000, for good or for bad, can be undone by extreme temperatures. I learned that the hard way when I stored my armor in my car during a con in the winter.

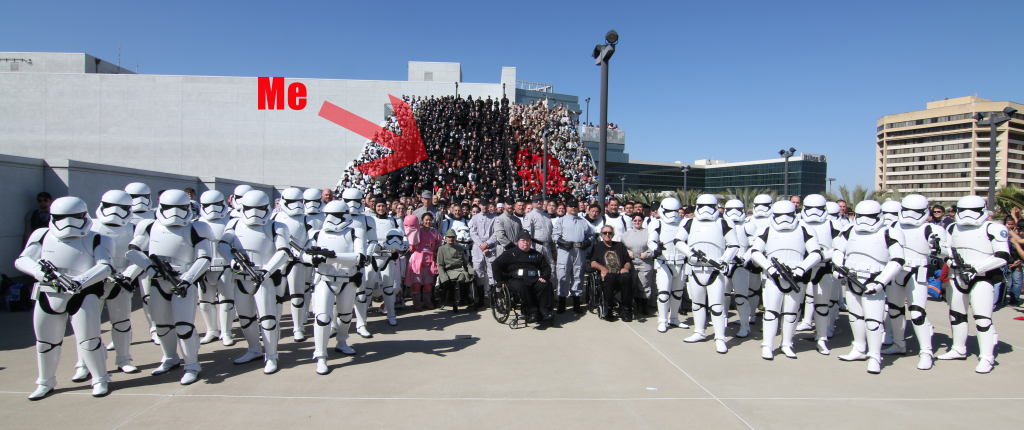
The 501st Legion is a great community of people. Unfortunately for me, I was spoiled when I was working on my Stormtrooper and Sandtrooper armor because these are among the most common armor types and there is a wealth of information and various tutorials to follow. However, the TIE pilot community is smaller and since there is less armor involved, a lot of the armor makers offer to sell it already assembled. Thus, there are fewer tutorials to follow. This is part of the reason I always try to document everything I’m doing. It helps to show my progress and to give others a guide to follow. Obviously here, I’m just giving a highlights and overview.
My deadline is fast approaching. I want to have it wearable by this Saturday. Yes, this whole process for me has been done under pressure and with an unrealistic timeline. I feel confident that I have some of the major pieces finished and some of the hardest work is now behind me. Now it’s just a matter of getting all the separate assembled pieces together to create a cohesive whole.
Author: Paul Depaola
Born in the desert, raised on the beach and now residing in the mountains. An obsessive, compulsive geek with a tendency to bring everything back to Star Wars. In his spare time he is TK-5990, a proud member of the 501st Legion. Paul is also the host of his own podcast, Fanboys Talking.


